Welcome to your ultimate guide on pigment paste and its uses in epoxy resin, silicone, and rubber! This comprehensive page answers all your questions about how to use pigment paste to achieve vibrant, opaque colors and stunning finishes in your projects. Learn how to mix pigment paste for resin art, create custom-colored silicone molds, and add rich color to rubber products. Discover tips for achieving smooth, bubble-free applications, troubleshooting common issues, and selecting the best pigment paste for your needs. Whether you’re a beginner or a seasoned professional, this guide covers everything you need to know to master pigment paste in epoxy resin, silicone, and rubber. Dive in and start creating with confidence!
Basics of Pigment Paste
-
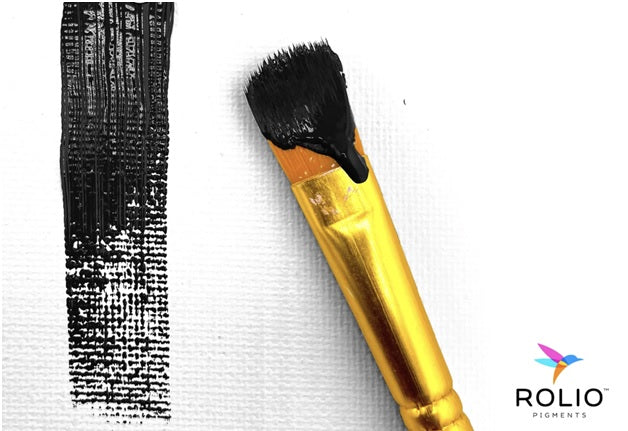
Pigment paste is a highly concentrated, thick liquid pigment dispersion used to color materials like epoxy resin, silicone, and rubber. It provides rich, opaque, and vibrant colors while blending smoothly into various mediums.
-
- Epoxy Resin: For creating vibrant art, coatings, and crafts.
- Silicone: For coloring molds and flexible products.
- Rubber: For tinting rubber components or decorative items.
-
- Highly pigmented and concentrated.
- Easy to mix for smooth, streak-free results.
- Compatible with various materials, including resin, silicone, and rubber.
- Available in a wide range of colors and shades.
-
- Provides superior opacity and color intensity compared to powder pigments.
- Easily disperses into liquid mediums.
- Consistent color results without settling or streaking.
Using Pigment Paste with Epoxy Resin
-
- Prepare the epoxy resin by mixing the resin and hardener according to the manufacturer’s instructions.
- Start with a small amount of pigment paste, typically 1-3% by weight of the total resin mixture. (recommended to not exceed 5%)
- Stir thoroughly to ensure the pigment paste is evenly dispersed. You can use a mixing stick, spatula, or drill mixer for larger batches.
- Adjust the amount of pigment paste to achieve your desired level of opacity or vibrancy.
-
Yes! You can blend different pigment pastes to create custom shades. Here’s how:
- Pre-mix the pigment pastes separately with small amounts of resin to ensure consistency.
- Gradually combine the colored resins to control the final color and effect.
- Test your color on a sample piece to see how it cures, as colors may shift slightly after hardening.
-
- For most projects, use 2-5% pigment paste by weight. Adding too much pigment can disrupt the curing process, resulting in a tacky or improperly hardened finish.
- For lighter or translucent effects, use less than 2%. For complete opacity, go closer to 5%.
-
Yes! Pigment paste can be used alongside:
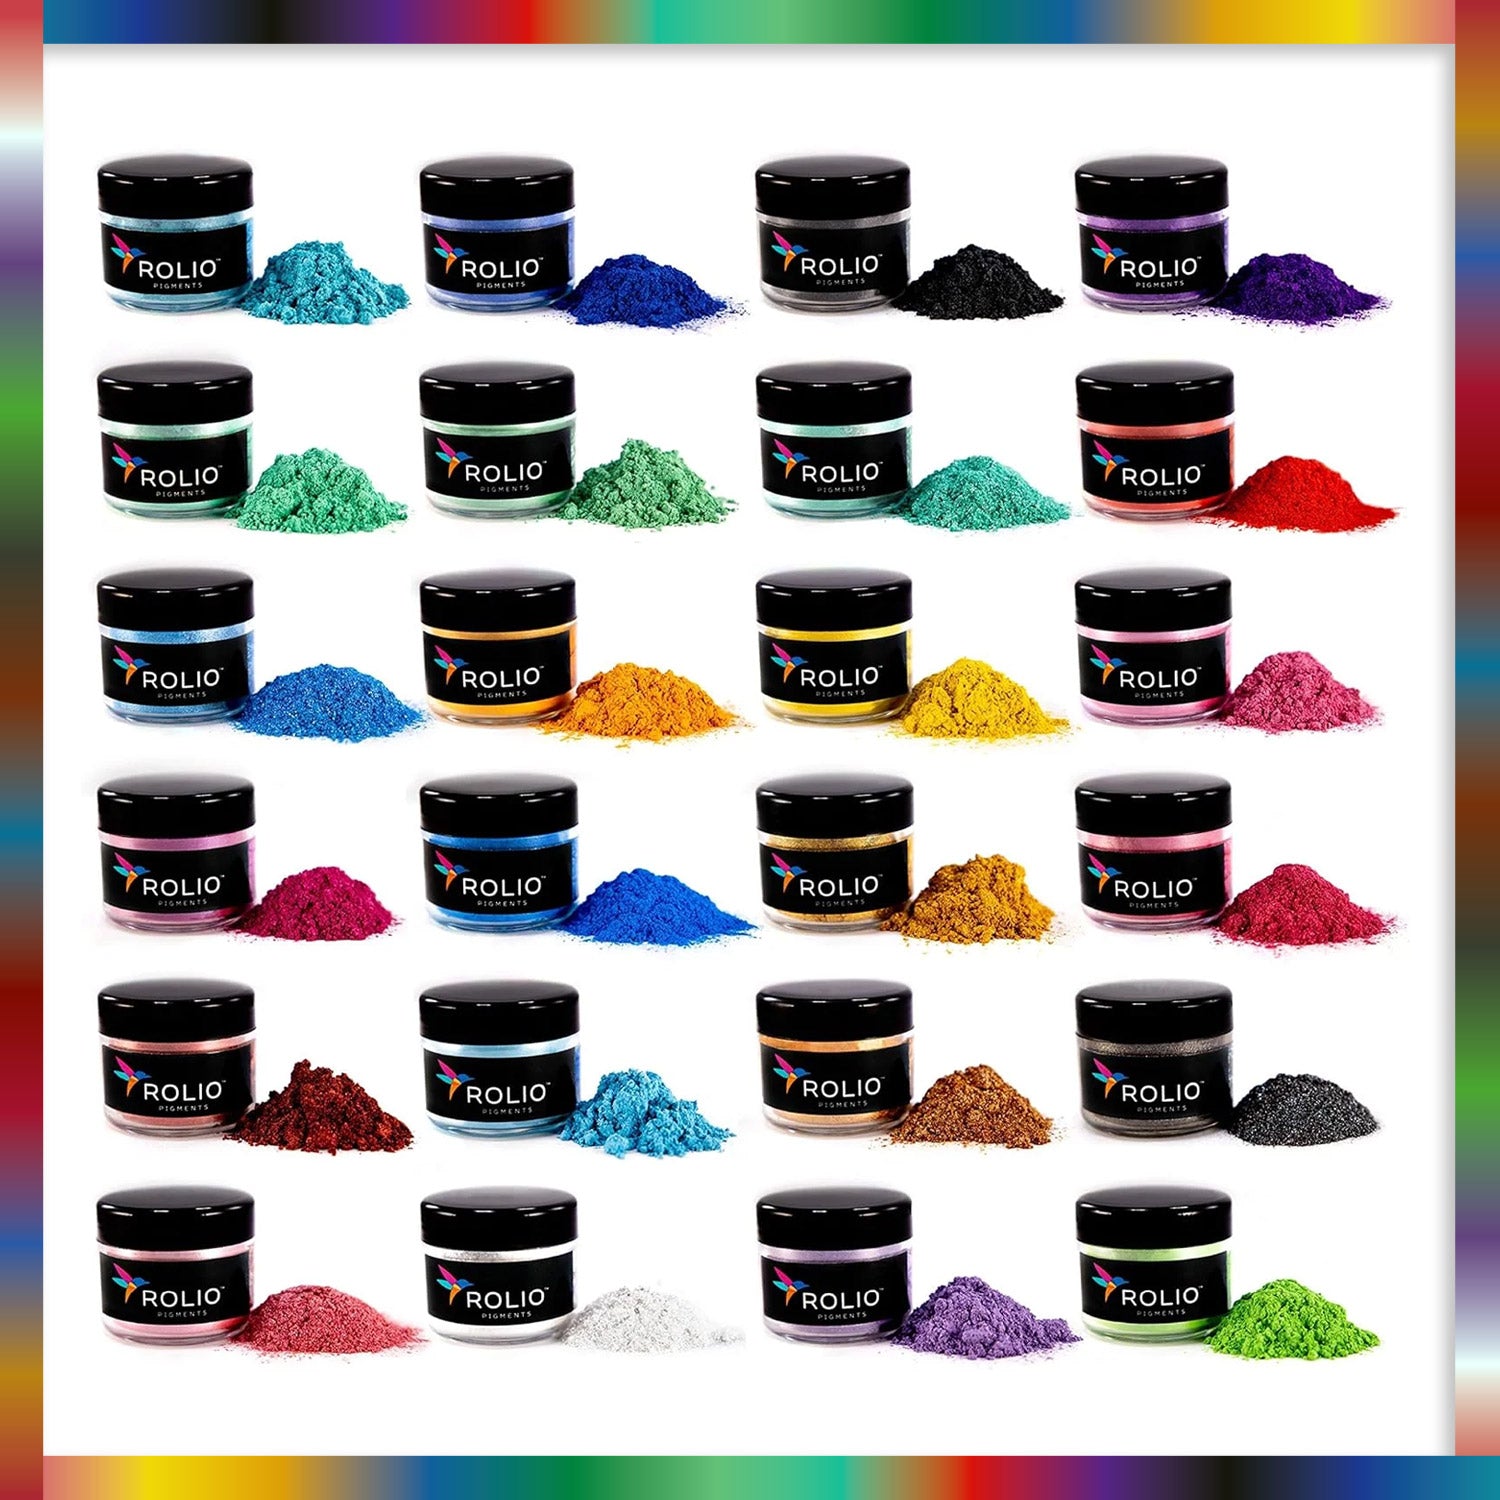
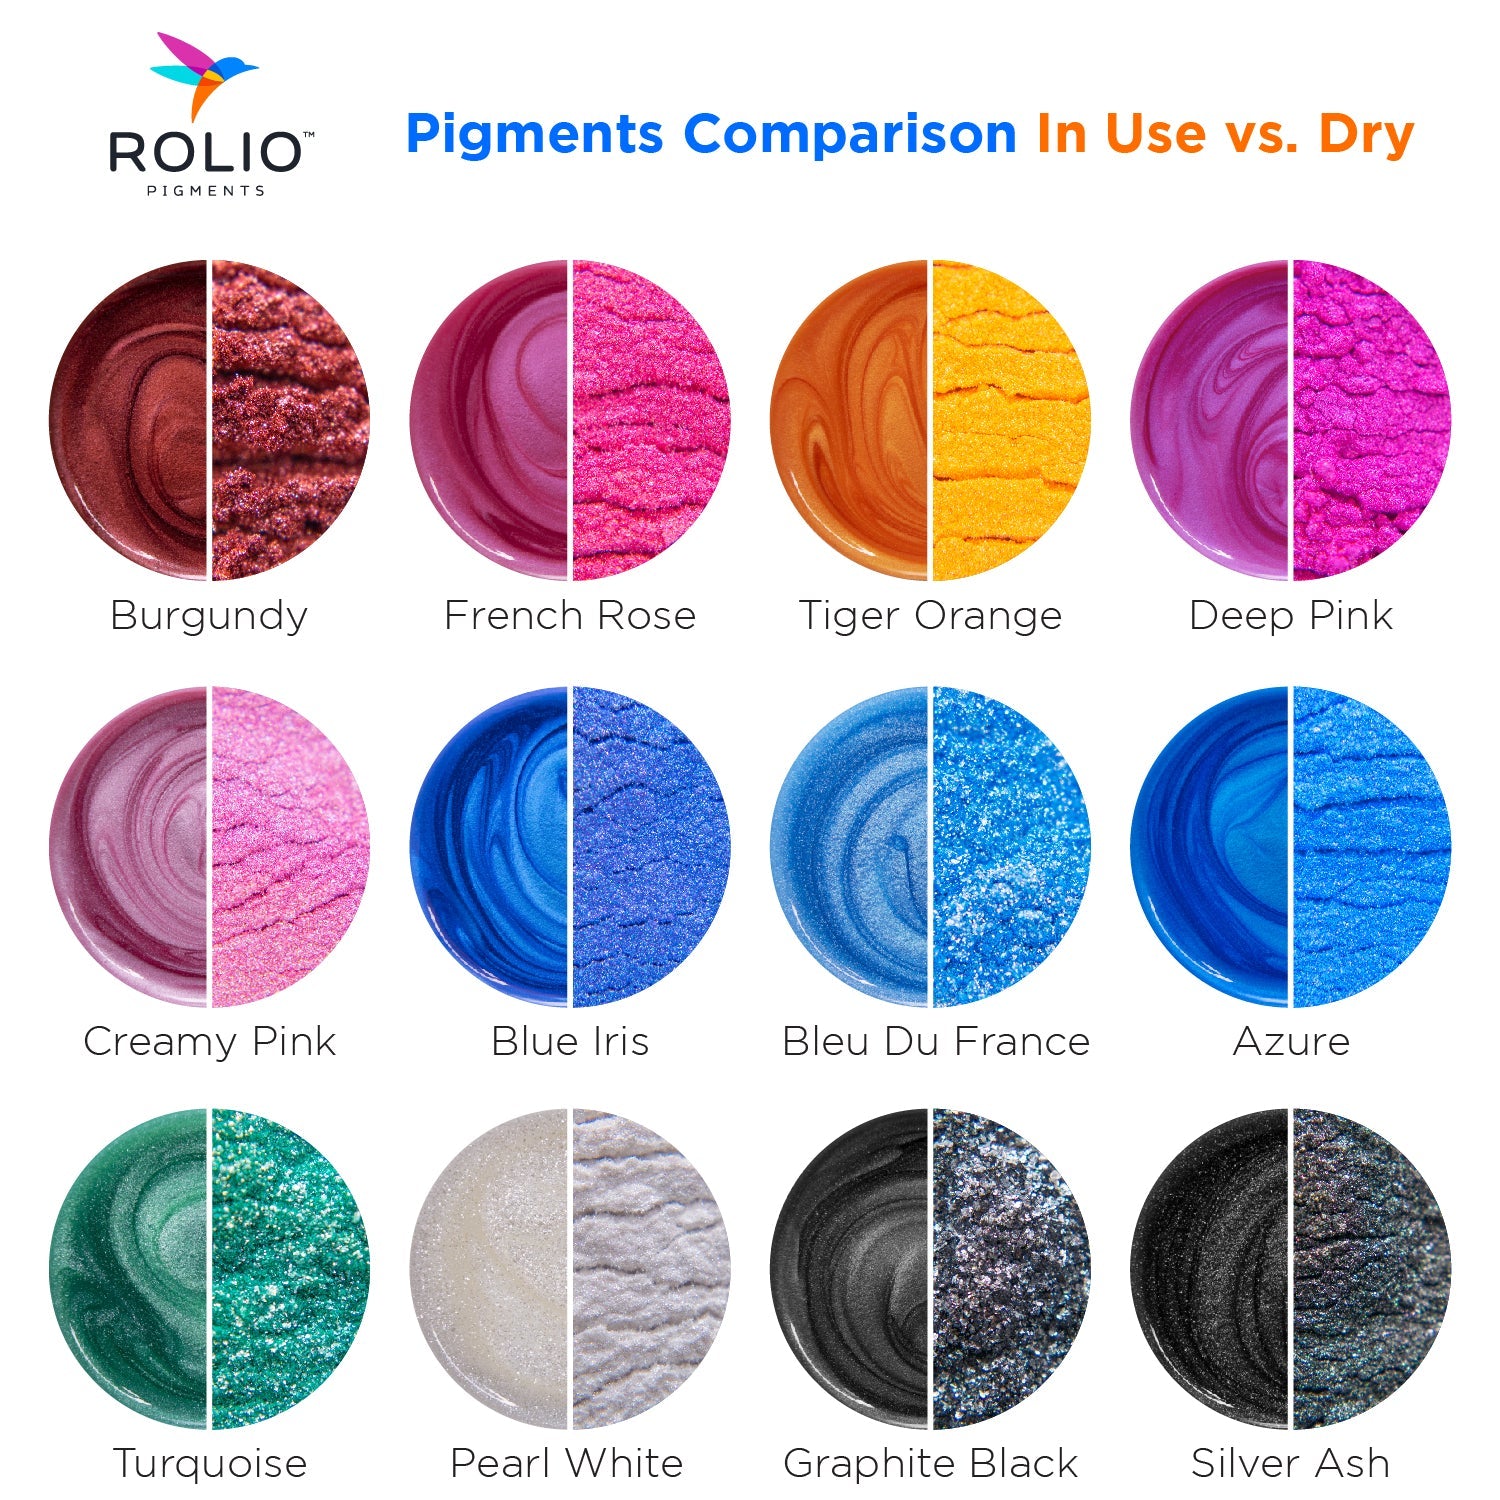
- Mica powders: Add shimmer and pearlescence to opaque colors.
- Glitter: For sparkle and dimensional effects.
- Alcohol inks: Create unique patterns and reactive color blending.
-
While pigment paste is primarily designed for opaque finishes, it can create semi-translucent effects if used sparingly. Mix a small amount into clear resin and gradually increase until you reach the desired transparency.
-
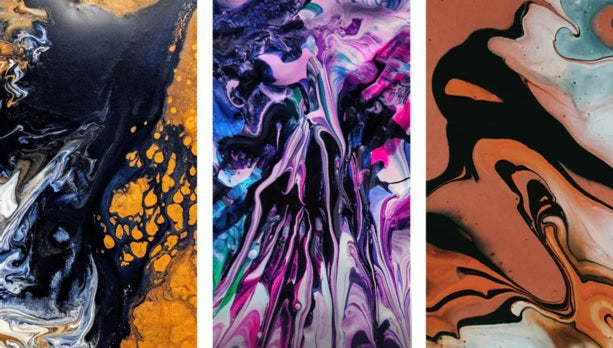
Absolutely! Pigment paste is ideal for creating swirl effects. Here’s how:
- Divide the resin into separate batches and color each with different pigment pastes.
- Pour the colors into the mold simultaneously.
- Use a stick, skewer, or toothpick to gently swirl the colors together without overmixing.
-
- Mix separate batches of resin, each colored with a different pigment paste.
- Pour one layer into the mold and allow it to set partially before adding the next.
- Repeat until all layers are poured, creating a beautiful stratified effect.
-
- River tables: Use pigment paste to create opaque or semi-translucent river sections.
- Coasters and trays: Add vibrant colors or marbled effects for decorative pieces.
- Jewelry: Use molds to craft colorful pendants, earrings, and bracelets.
- Functional art: Decorate tabletops, countertops, or wall panels with bold colors and patterns.
Epoxy Resin Calculator
Use this epoxy resin calculator to determine the exact amount of resin and hardener needed for your project.
Pigment Ratio Calculator
Find the perfect amount of mica powder or pigment paste for your epoxy resin.
Using Pigment Paste with Silicone
-
- Mix pigment paste directly into the uncured silicone base.
- Stir thoroughly until the color is evenly distributed before adding the curing agent.
-
Use up to 2% pigment paste by weight of the silicone base. Overloading can affect the curing or flexibility of the silicone.
-
Only if used in excessive amounts. Stick to the recommended percentage to maintain the silicone’s properties.
-
Pigment paste works with most liquid silicone types, including addition-cure and condensation-cure silicones.
-
Yes, pour layers of silicone tinted with different pigment paste shades and blend the edges for a gradient effect.
Using Pigment Paste with Rubber
-
- Add pigment paste directly to the uncured rubber mix.
- Stir until the color is evenly dispersed before proceeding with molding or shaping.
-
Similar to silicone, use no more than 2% by weight to avoid compromising the rubber’s physical properties.
-
Pigment paste is compatible with many rubber materials, including natural rubber, silicone rubber, and polyurethane rubber.
-
Yes, as long as the correct amount is used, pigment paste won’t affect flexibility or elasticity.
Creative Techniques
-
Yes, pour tinted layers one at a time, allowing each to partially set before adding the next for a layered or striped design.
-
Yes, pigment paste is perfect for coloring materials used in molds for 3D objects, such as resin sculptures or silicone molds.
-
Pigment paste is typically opaque, but you can mix it with mica powders or metallic additives for a shimmering finish.
-
Use two or more pigment paste colors in separate batches. Pour them together into the mold and gently swirl with a stick to create a marbled appearance.
Mica Powder Starter Kits
Rolio's Starter Mica Powder Sets and Epoxy Resin are perfect for beginners or experienced artists.
Troubleshooting with Pigment Paste
-
- Ensure you are mixing thoroughly. Unblended pigment can create streaks or patches.
- If the resin is too viscous, warm it slightly (according to manufacturer instructions) to improve flow and blending.
- Mix thoroughly to avoid streaks. For resin, pre-mix the paste with the resin component before adding the hardener.
-
- Overloading with pigment paste can cause cloudiness. Stick to the recommended 2-5% by weight.
- Mix the resin and pigment paste slowly to avoid introducing bubbles.
-
- Excess pigment paste can disrupt the resin-to-hardener ratio. Measure carefully and avoid exceeding the recommended amount.
- Ensure the resin and hardener are mixed thoroughly before adding pigment paste.
-
Resin colors can appear darker or slightly different once cured. To anticipate the final look, test a small amount in the mold and let it fully cure.
-
Settling can occur if the resin is too thin. Use a thicker resin or pour immediately after mixing to prevent separation.
-
Too much pigment paste can interfere with clarity. Use the recommended amount for opaque results without affecting the material’s properties.
-
Inadequate mixing can cause uneven color distribution. Stir thoroughly to achieve a uniform result.
Safety and Storage
-
Yes, most pigment pastes are non-toxic and safe for use in crafting. Always follow the manufacturer’s safety instructions and use in a well-ventilated area.
-
- Keep pigment paste in airtight containers to prevent drying out.
- Store in a cool, dry place away from direct sunlight to maintain its color integrity.
-
Yes, pigment paste can stain. Wear gloves and protect work surfaces to avoid unwanted messes.
-
While pigment paste doesn’t technically expire, its quality can degrade over time if not stored properly.
-
- Clean tools immediately with isopropyl alcohol or acetone.
- Protect work surfaces with disposable covers to avoid staining.
-
Pigment paste is generally non-toxic, but prolonged skin contact should be avoided. Wear gloves and wash any exposed areas thoroughly after use.
Advanced Tips
-
Yes, pigment paste can be combined with mica powders, liquid dyes, or other additives to create custom effects.
-
Yes, but since UV resin cures differently, use a small amount of pigment paste to ensure proper curing.
-
Create a small test batch to check for compatibility, color intensity, and curing performance with your material.
-
While pigment paste is designed for opaque finishes, using a very small amount can create semi-translucent effects.
-
Gradually mix increasing amounts of pigment paste into layers of your material to achieve a smooth gradient.
-
- Use a combination of pigment pastes and additives like sand or mica powders to create textured layers in the resin.
- Drag tools through partially cured resin to create raised patterns or textures. Even embossing or stamping partially cured resins can create some interesting patterns.
-
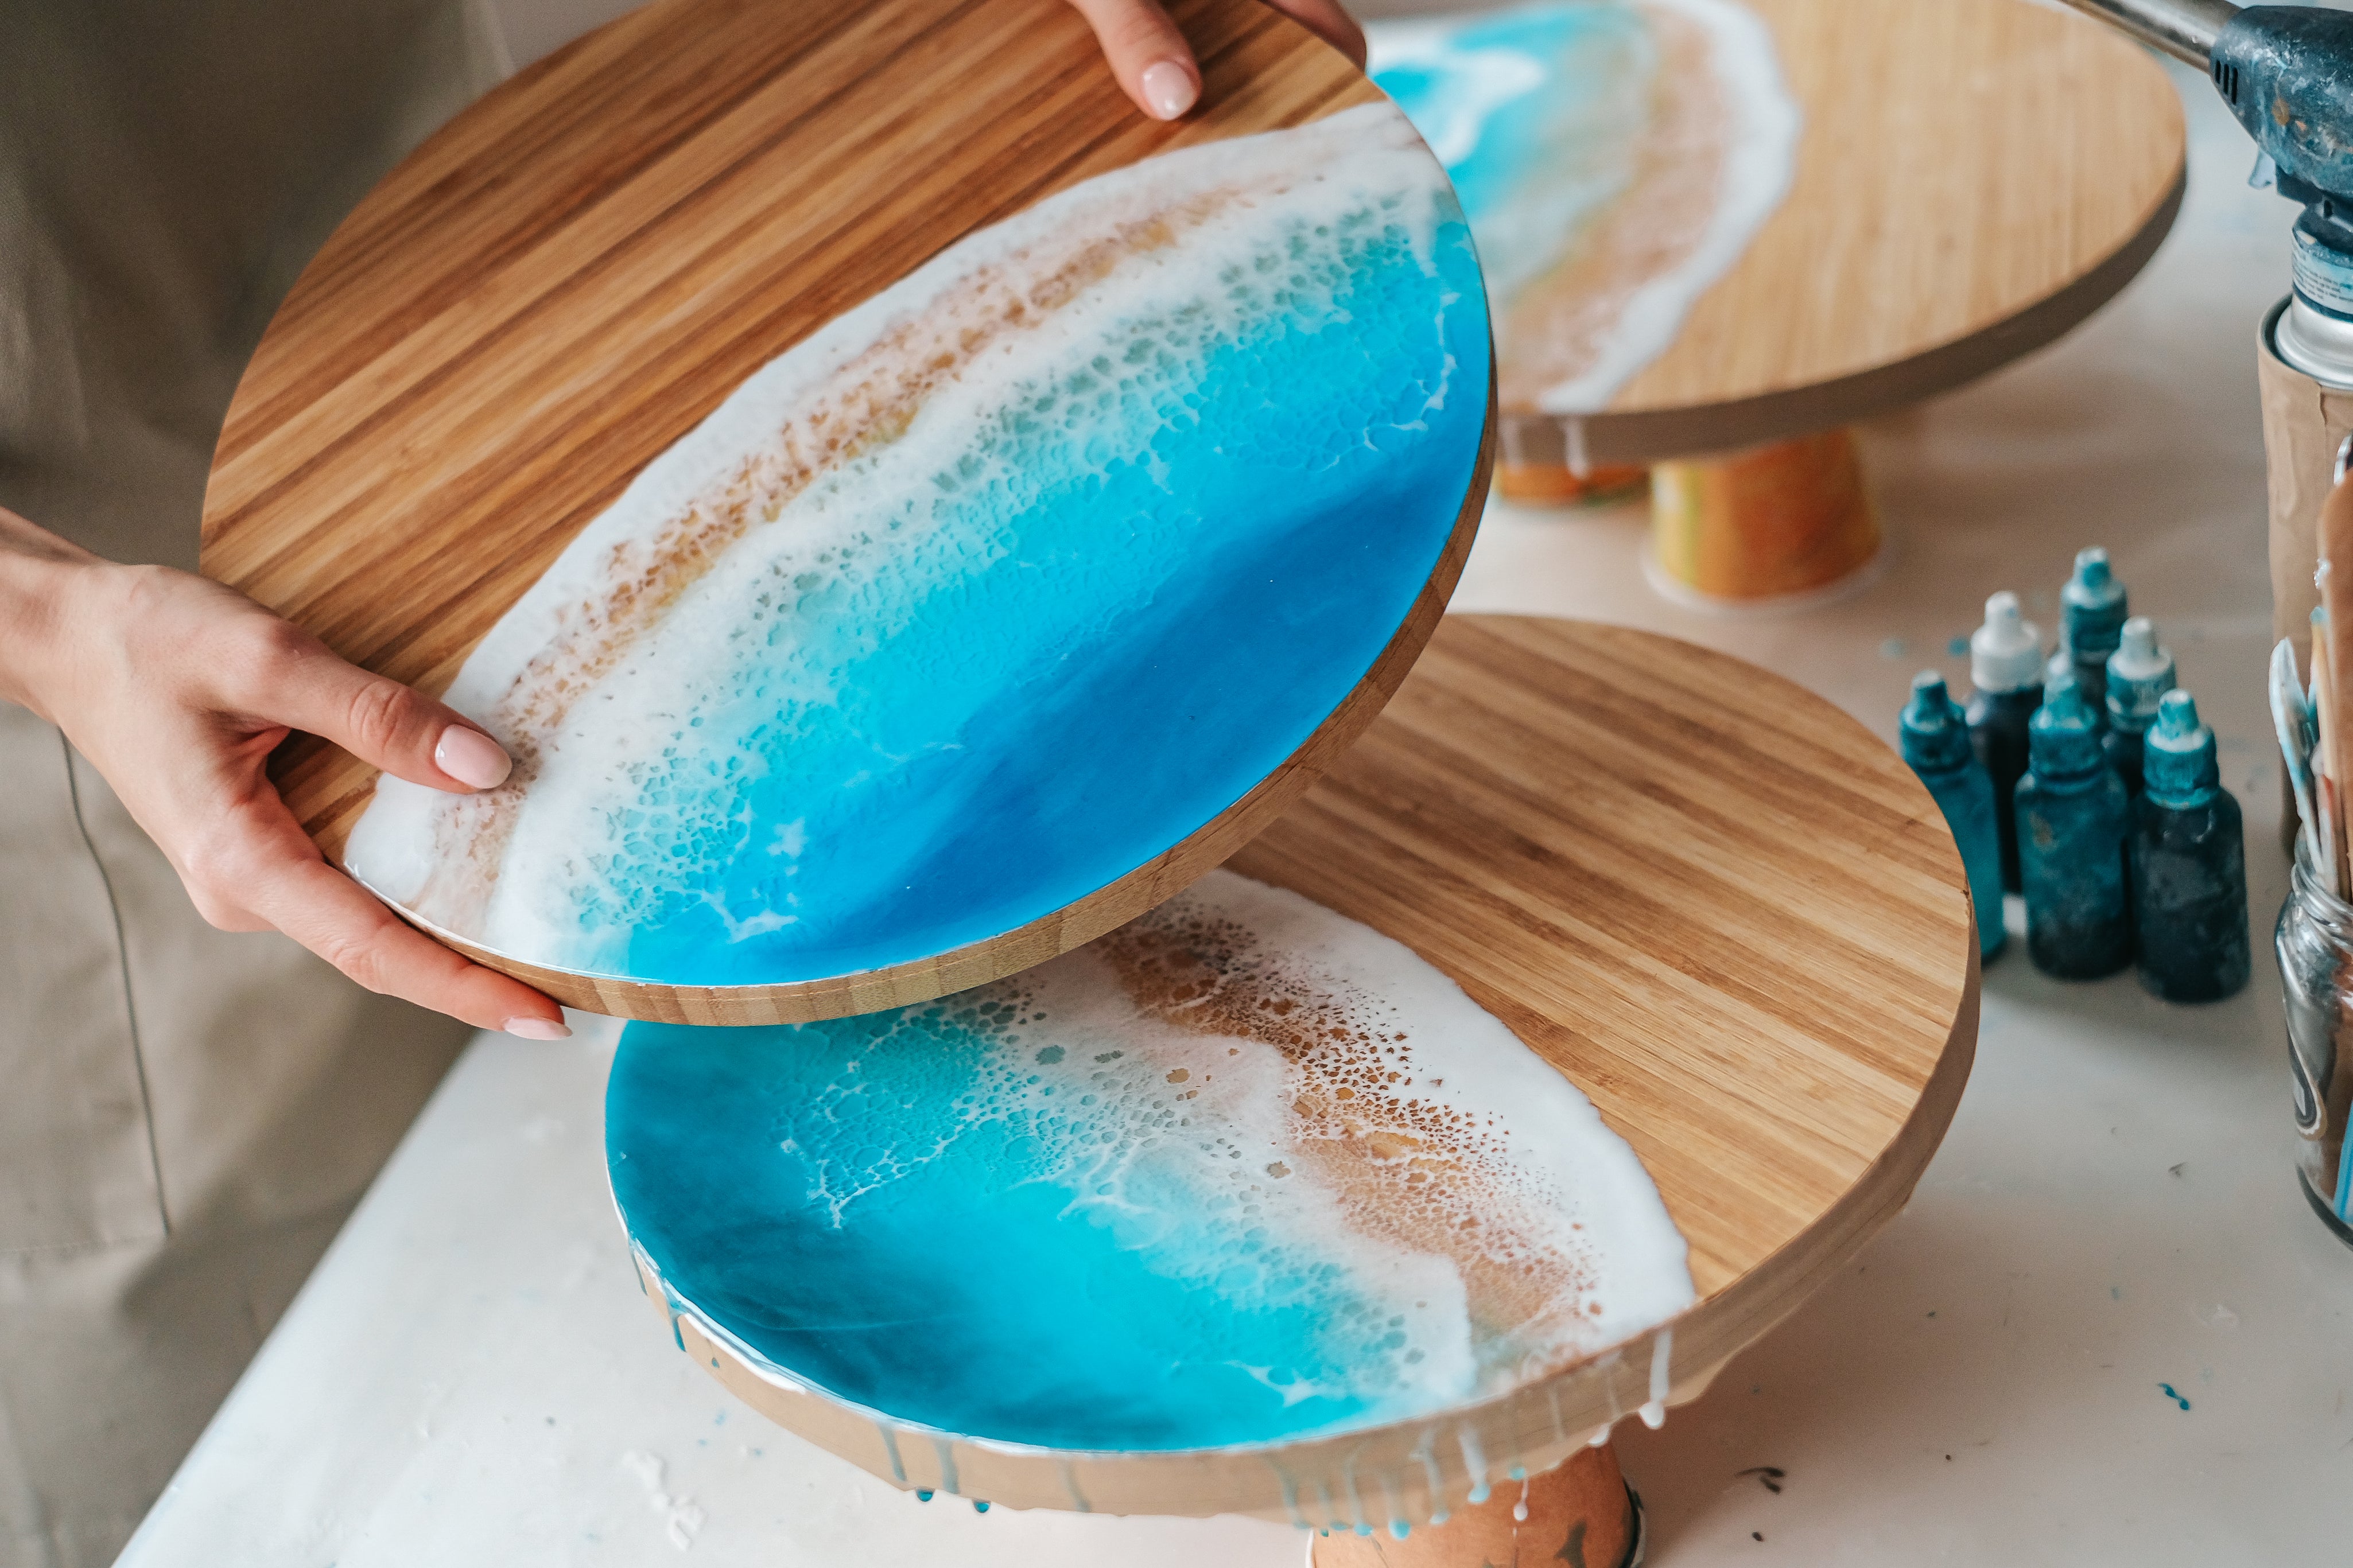
- Yes! Use blues, greens, and whites to mimic ocean waves.
- For realistic water effects, mix pigment paste with translucent or clear resin and layer it with white resin for waves or foam. Using a heat gun to blow the white pigment forming lacing and realistic waves!
-
Pigment paste is suitable for deep pours, but follow manufacturer guidelines for maximum depth per pour. Overloading with pigment can slow or prevent curing in thicker layers.
-
- Mix metallic pigment pastes with mica powders for extra shimmer.
- Use reflective additives like fine glitter or crushed glass for unique finishes.
